The Step-by-Step Process of Getting Your Wedding Dress in Kenya
Complete guide to finding your wedding dress in Kenya. Learn about budgeting, shopping routes, fittings, and avoiding common mistakes from first research to wedding day.

The Step-by-Step Process of Getting Your Wedding Dress in Kenya
From your first Pinterest save to the final fitting, here’s exactly what the wedding dress journey looks like for Kenyan brides — and how to navigate each step without the stress.
You said yes to the proposal. The excitement is real. And somewhere between telling your family and starting the WhatsApp group that will eventually consume your life, a thought lands: I need to find my wedding dress.
But where do you even start? Do you walk into a shop first or find a designer? How many fittings are normal? When should you begin, and what happens if something goes wrong?
Most brides figure this out as they go, learning from mistakes along the way. This guide walks you through the entire process from start to finish so you can skip the guesswork and enjoy the experience.
Step 1: Set Your Budget Before You Look at a Single Dress
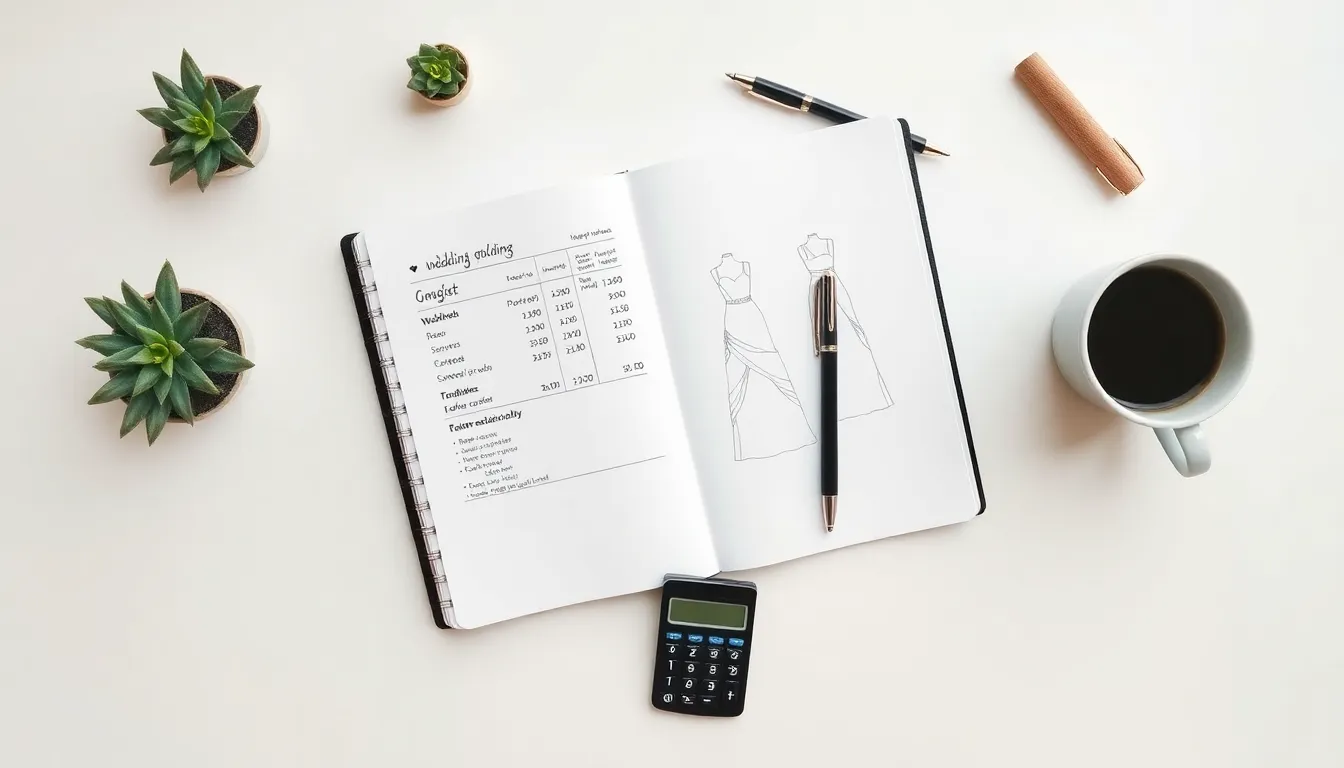
This is the step every bride knows she should do but most skip — and it causes problems later. Before you open Pinterest, visit a shop, or message a designer on Instagram, decide how much you’re willing to spend on your dress and everything that comes with it.
“Everything that comes with it” means the dress itself, alterations, undergarments, a veil or headpiece, shoes, and any accessories. A common mistake is budgeting KSh 40,000 for the dress and then realising you still need KSh 8,000 for alterations, KSh 5,000 for a proper strapless bra and petticoat, and KSh 3,000 for a veil. That KSh 40,000 dress just became a KSh 56,000 dress.
Write down a total number that covers everything. Then tell that number to whoever is helping you shop. Bridal shop attendants and designers in Kenya are generally very good at showing you options within your stated range — but only if you’re upfront about it.
Step 2: Research and Gather Inspiration
Now comes the fun part. Spend two to three weeks saving photos of dresses you love. Pinterest and Instagram are your best friends here. Search for terms like “Kenyan bride,” “African wedding dress,” “wedding dress for church ceremony,” or whatever matches your vision.
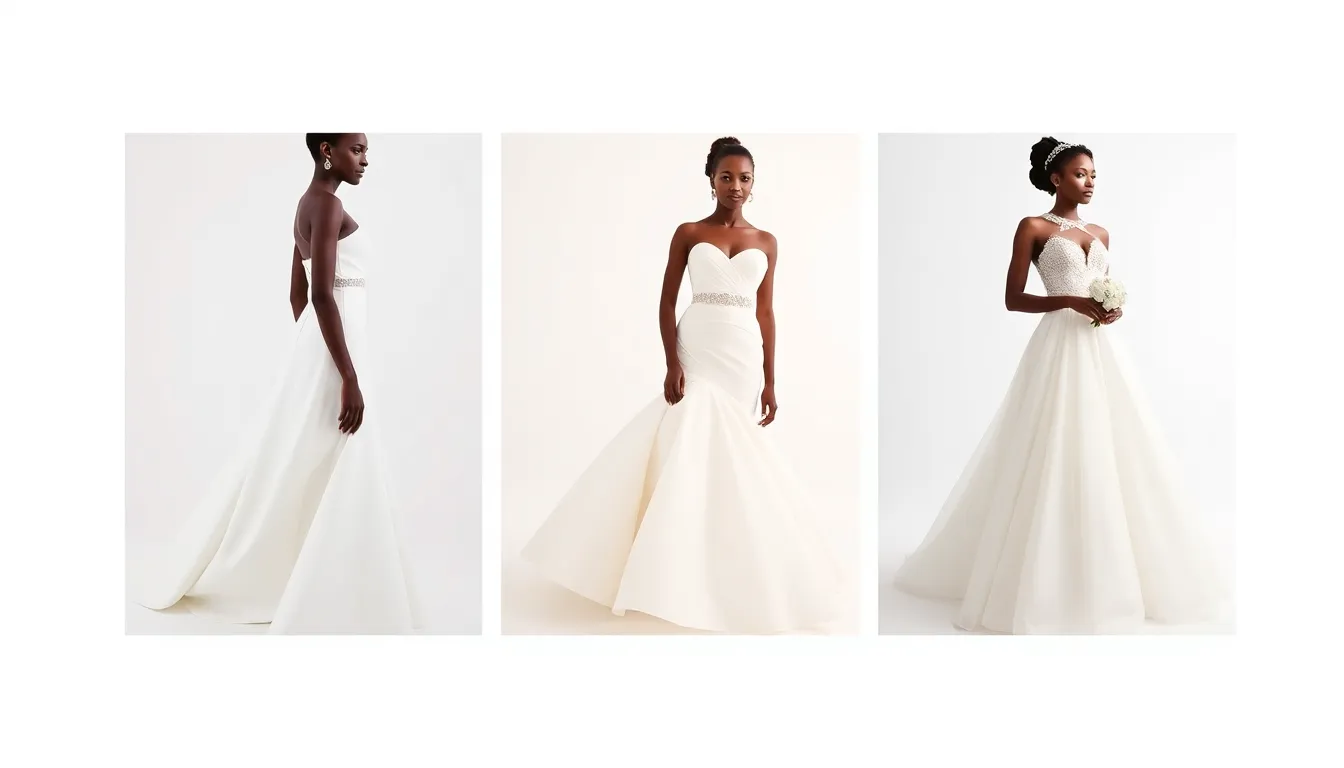
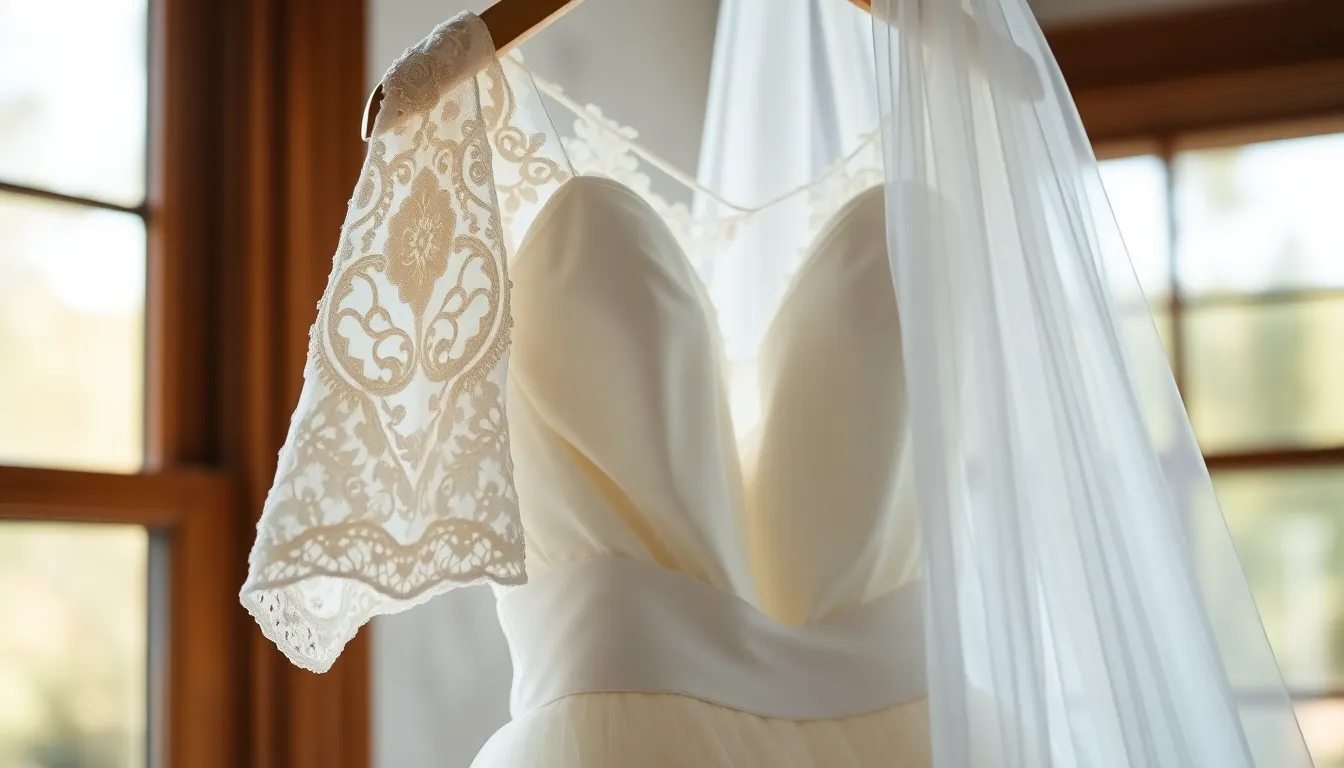
As you save photos, you’ll start noticing patterns. Maybe you keep saving A-line dresses. Maybe you’re drawn to lace sleeves. Maybe you love the idea of kitenge accents on a white gown. These patterns tell you what you actually want — which is often different from what you thought you wanted before you started looking.
Create a folder or board with your top 15 to 20 photos. Then narrow it down to your top five. These are the images you’ll take with you when you start shopping or meeting designers. Having clear references saves enormous amounts of time and reduces miscommunication, especially if you’re going the custom route.
Also research where to shop. Ask recently married friends where they got their dresses — personal recommendations are gold in Kenya’s bridal market. Check Instagram for Kenyan bridal designers whose style matches yours. Note which bridal shops in your area carry the styles you like.

Step 3: Decide Your Route — Off-the-Rack, Custom, Import, or Rental
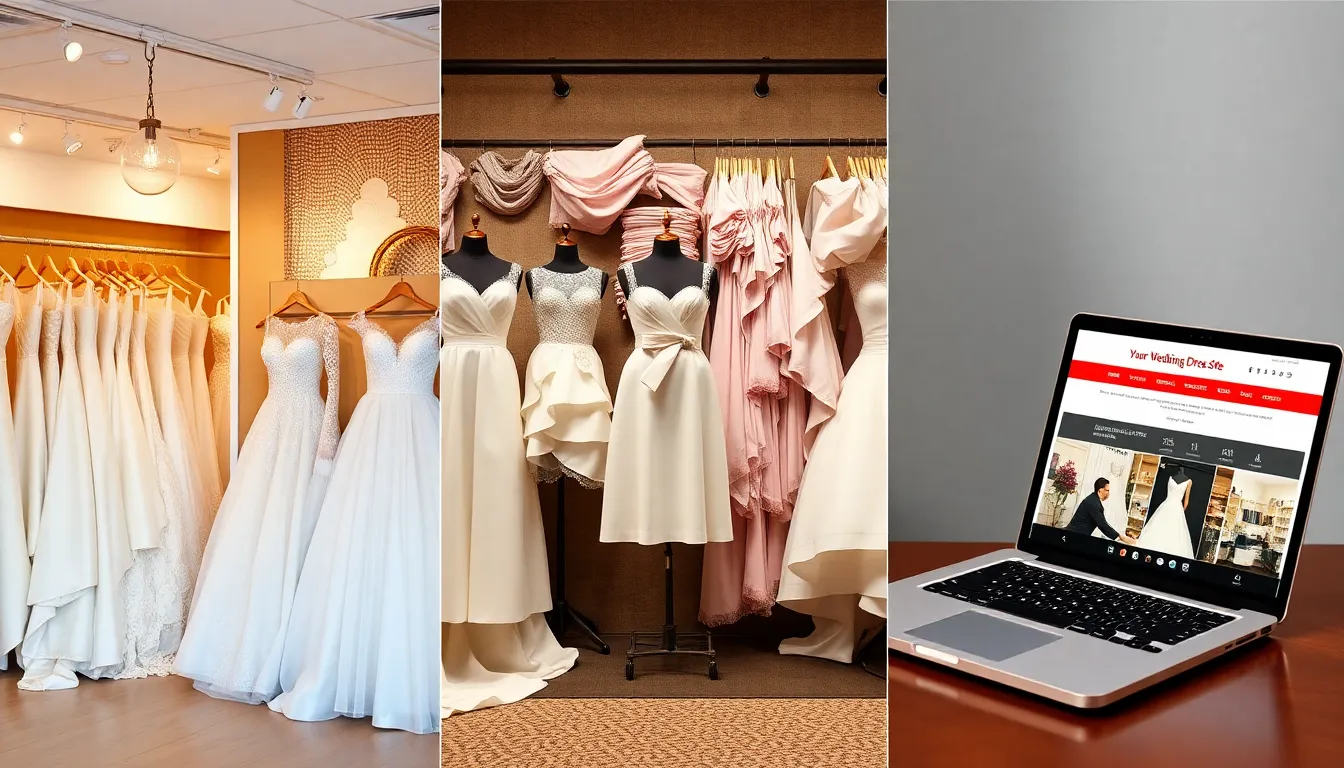
There are four main ways to get a wedding dress in Kenya, and each has a different timeline, cost structure, and experience.
Off-the-rack from a bridal shop means walking into a store, trying on dresses, and buying one that day or within a few visits. This is the fastest route. You can find options from KSh 8,000 in affordable shops in Eastleigh and the CBD up to KSh 300,000 or more in high-end Nairobi boutiques. The dress will almost always need alterations to fit you perfectly, but the foundation is already there.
Custom-made by a local designer or tailor means having a dress created specifically for you. This is the most popular route among Kenyan brides because it gives you complete control over the design, fabric, and fit. Prices range from KSh 20,000 for simpler designs to well over KSh 200,000 for elaborate beaded gowns. This route requires more time — at least three to four months.
Importing from overseas means ordering online from sites like JJ’s House, Azazie, AliExpress, or ASOS. Prices can be very attractive, starting from KSh 5,000, but you need to factor in shipping (three to six weeks), customs duties (KSh 5,000 to KSh 20,000), and the risk that the dress may not match the photos. Always order a size up and have a local tailor ready for alterations.
Renting means borrowing a dress for your wedding day and returning it afterwards. Several shops in Nairobi and Mombasa offer this, typically for KSh 5,000 to KSh 40,000. It’s a practical option if you’d rather spend your money elsewhere.
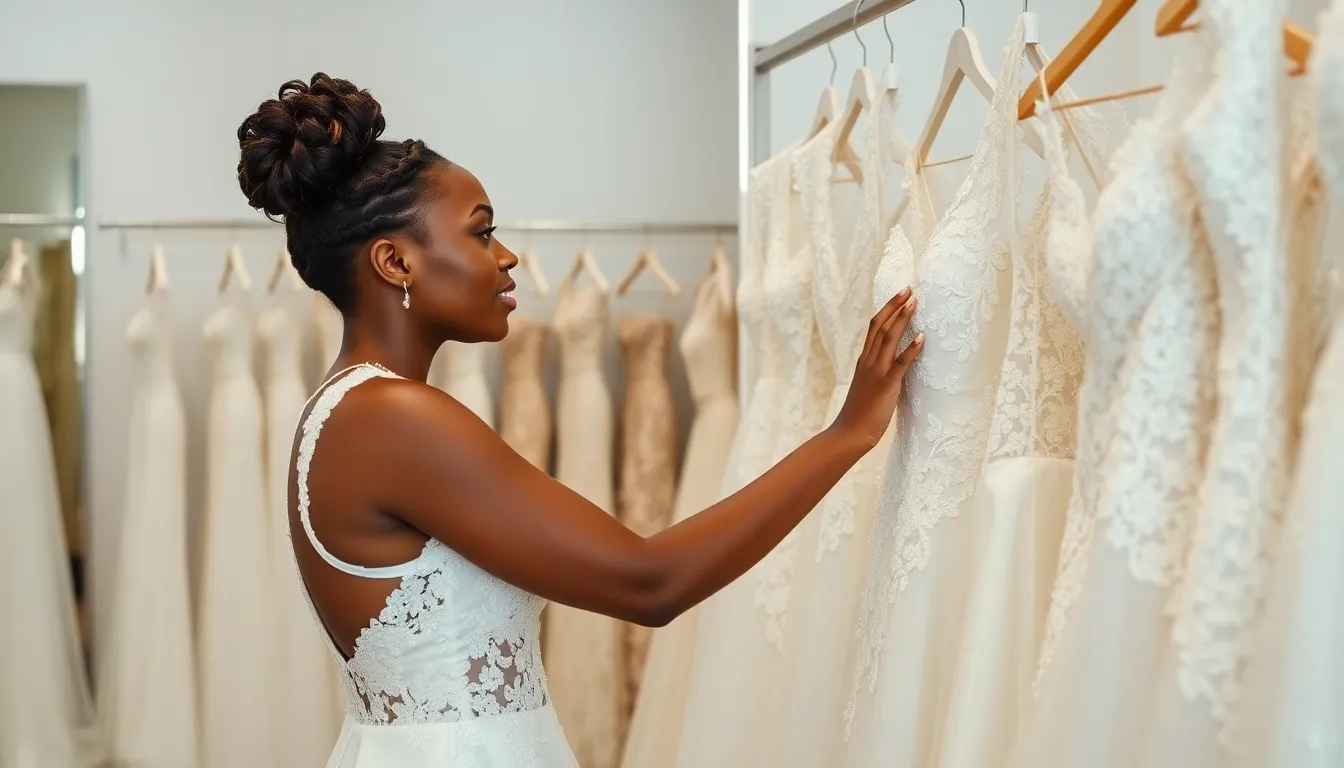
Step 4: Start Shopping or Meeting Designers
If you’re buying off-the-rack, book appointments at two or three bridal shops. Call ahead — many Kenyan bridal boutiques work by appointment, especially the mid-range and high-end ones. Walk-ins are fine at more affordable shops, but an appointment means you get dedicated attention.
Bring your reference photos, wear nude or seamless undergarments, and take only one or two trusted people with you. Too many opinions create confusion. Your mum and your maid of honour are usually enough.
Try on at least four or five dresses, even in styles you didn’t think you’d like. Many brides are surprised by what looks good on their body versus what looked good in a photo. Take pictures and videos of each dress — you’ll want to compare them later when you’re not caught up in the moment.
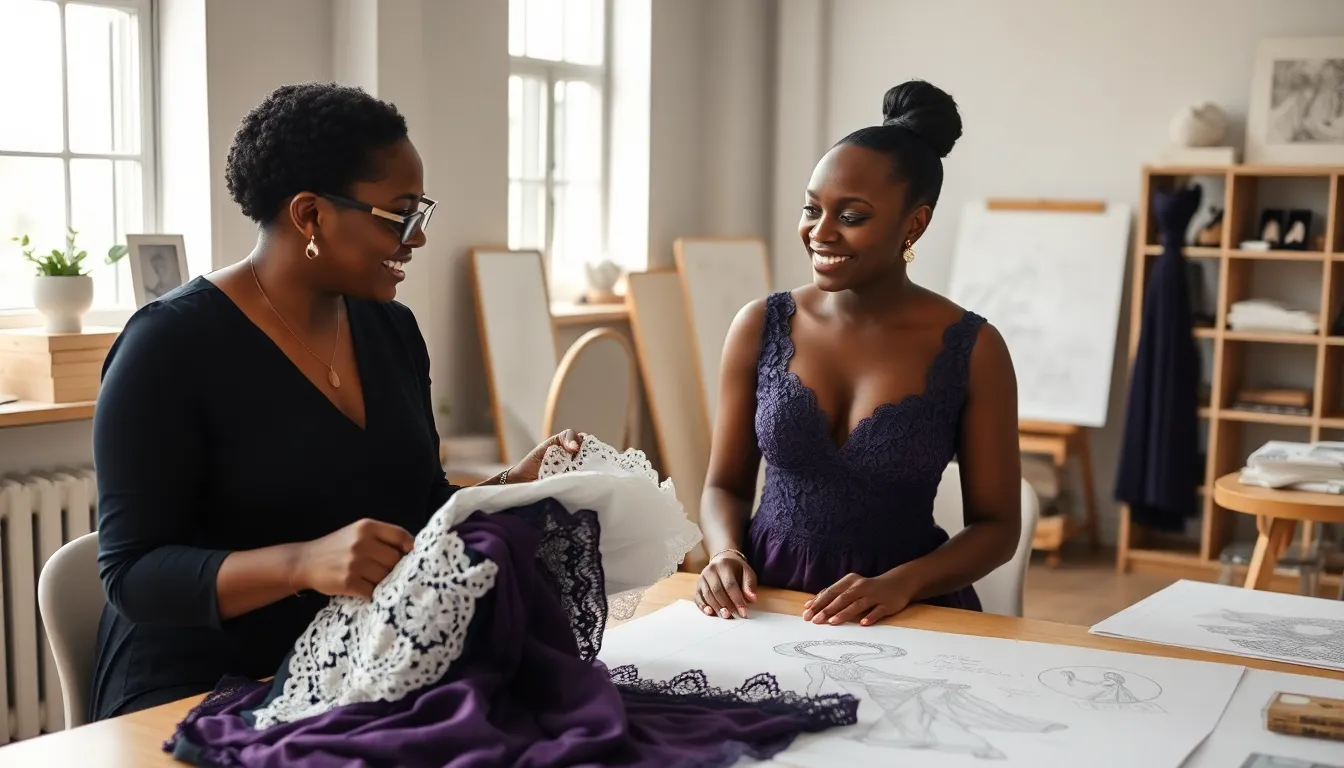
If you’re going custom, meet with two or three designers before committing. Look at their past bridal work — specifically, ask to see real wedding photos, not just studio shoots. Discuss your vision using your reference photos, ask about their fabric sources, and get a clear quote that includes fabric, labour, and the number of fittings. Ask about their cancellation and revision policy. Get everything agreed in writing, even if it’s just a detailed WhatsApp message you both confirm.
Step 5: Place Your Order or Make Your Purchase
Once you’ve found your dress or chosen your designer, it’s time to commit. If you’re buying off-the-rack, confirm the price, pay (or arrange a payment plan if the shop offers one), and schedule your first alteration appointment.
If you’re going custom, you’ll typically pay a deposit — usually 50% upfront — with the balance due at or before the final fitting. Make sure you agree on a clear timeline: when will the first draft be ready, how many fittings are included, and what’s the final delivery date? A good designer will give you a schedule without you having to ask.
If you’re importing, place your order as early as possible. Use a shipping method with tracking, and keep records of everything for customs clearance. Some brides use freight forwarders who specialise in shipping goods to Kenya — they handle customs paperwork and can reduce the hassle significantly.
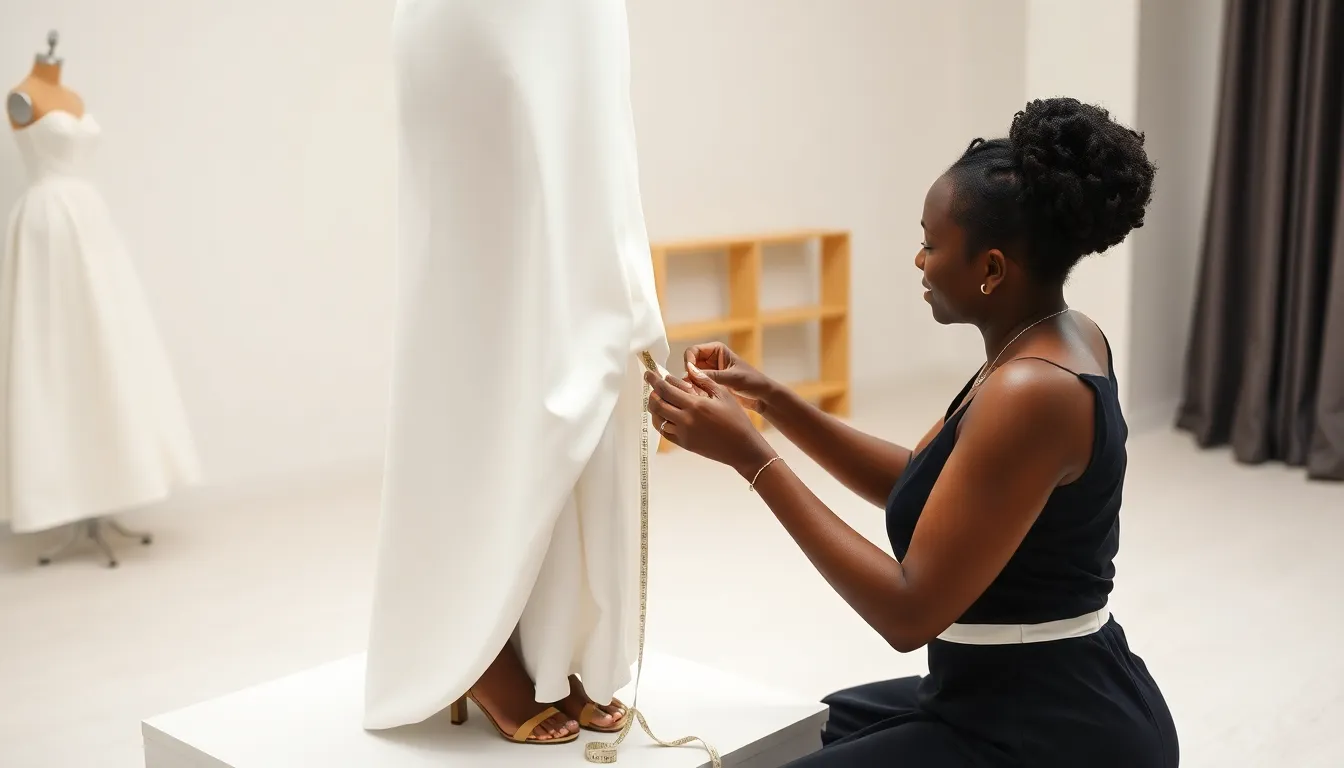
Step 6: Fittings and Alterations
Whether you bought off-the-rack or went custom, you’ll need fittings. This is where the dress goes from “close enough” to “perfect.”
For off-the-rack purchases, you’ll typically need one to three alteration sessions. The first fitting is where the tailor marks what needs to change — taking in the waist, adjusting the hemline, modifying the neckline, or adding boning for support. The second fitting is to check their work. A third fitting may be needed for final tweaks.
For custom dresses, the fitting process is more involved. Your first fitting is usually with a muslin or basic fabric version of the dress — this is where you check the overall shape, proportions, and fit before the designer cuts into the actual fabric. The second fitting is with the real fabric and partial construction. The third or fourth fitting is the nearly finished dress with beading, embellishments, and final details. The last fitting — usually one to two weeks before the wedding — is for any final adjustments.
During every fitting, wear the undergarments and shoes you plan to wear on the wedding day. This sounds obvious, but many brides forget and end up with a hemline that’s too long or too short because they were wearing different shoes.
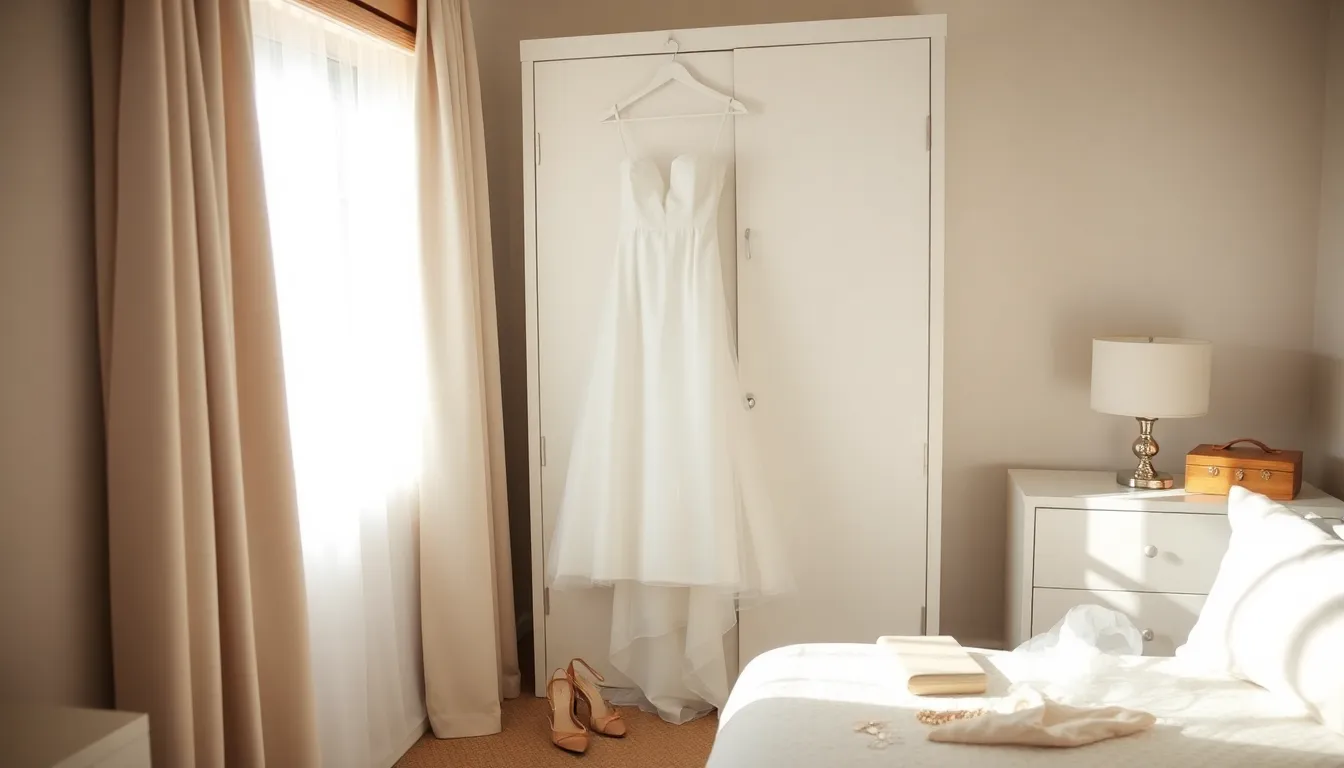
Step 7: Final Pickup and Storage
Your dress is ready. Now you need to take care of it until the big day.
Pick up your dress at least one week before the wedding — never the day before. Things can go wrong, and you want time to fix them. Try the dress on one final time at the shop or at home to make sure everything is perfect.
Store it properly. Hang it on a padded hanger in a cool, dry place away from direct sunlight. If it came in a garment bag, keep it in the bag. Don’t store it in a plastic bag, which can trap moisture and cause yellowing. Keep it away from anything that might stain it — food, makeup, perfume. And tell everyone in your household not to touch it.
On the morning of the wedding, have someone specifically assigned to help you get into the dress. Ideally, this is your maid of honour or a trusted friend who’s calm under pressure. Getting into a wedding dress — especially one with buttons, lacing, or a corset back — is not a solo activity.
Step 8: Wearing It (and Surviving the Day)
A few practical tips for the actual wedding day. Eat before you get into the dress — you won’t want to risk food stains once it’s on. Use the bathroom before the final zipping. If your dress has a train, practice walking with it beforehand and assign someone to help bustle it for the reception.
Bring an emergency kit: safety pins, fashion tape, a small sewing kit, stain remover wipes, and an extra pair of comfortable shoes for when your heels become unbearable around hour six.
And most importantly — once you’re in the dress, stop worrying about it. The wrinkles, the dust from the photoshoot location, the slight pulling at the seam when you dance too hard — none of it matters. The dress has done its job. Now go enjoy your wedding.
Keep the Rest of Your Planning Just as Organised
Finding and fitting your dress is a process — but it’s one process. You’ve also got a guest list to manage, RSVPs to collect, events to coordinate, and about fifty questions from relatives who all need the same information.
Harusi Hub puts everything in one place. Create a free wedding website, share it with one link, and let your guests find the details and RSVP on their own — instead of you answering the same WhatsApp messages over and over.
Keep your wedding planning organized
Create your free wedding website in minutes and stop juggling spreadsheets.
Start for Free